Overview
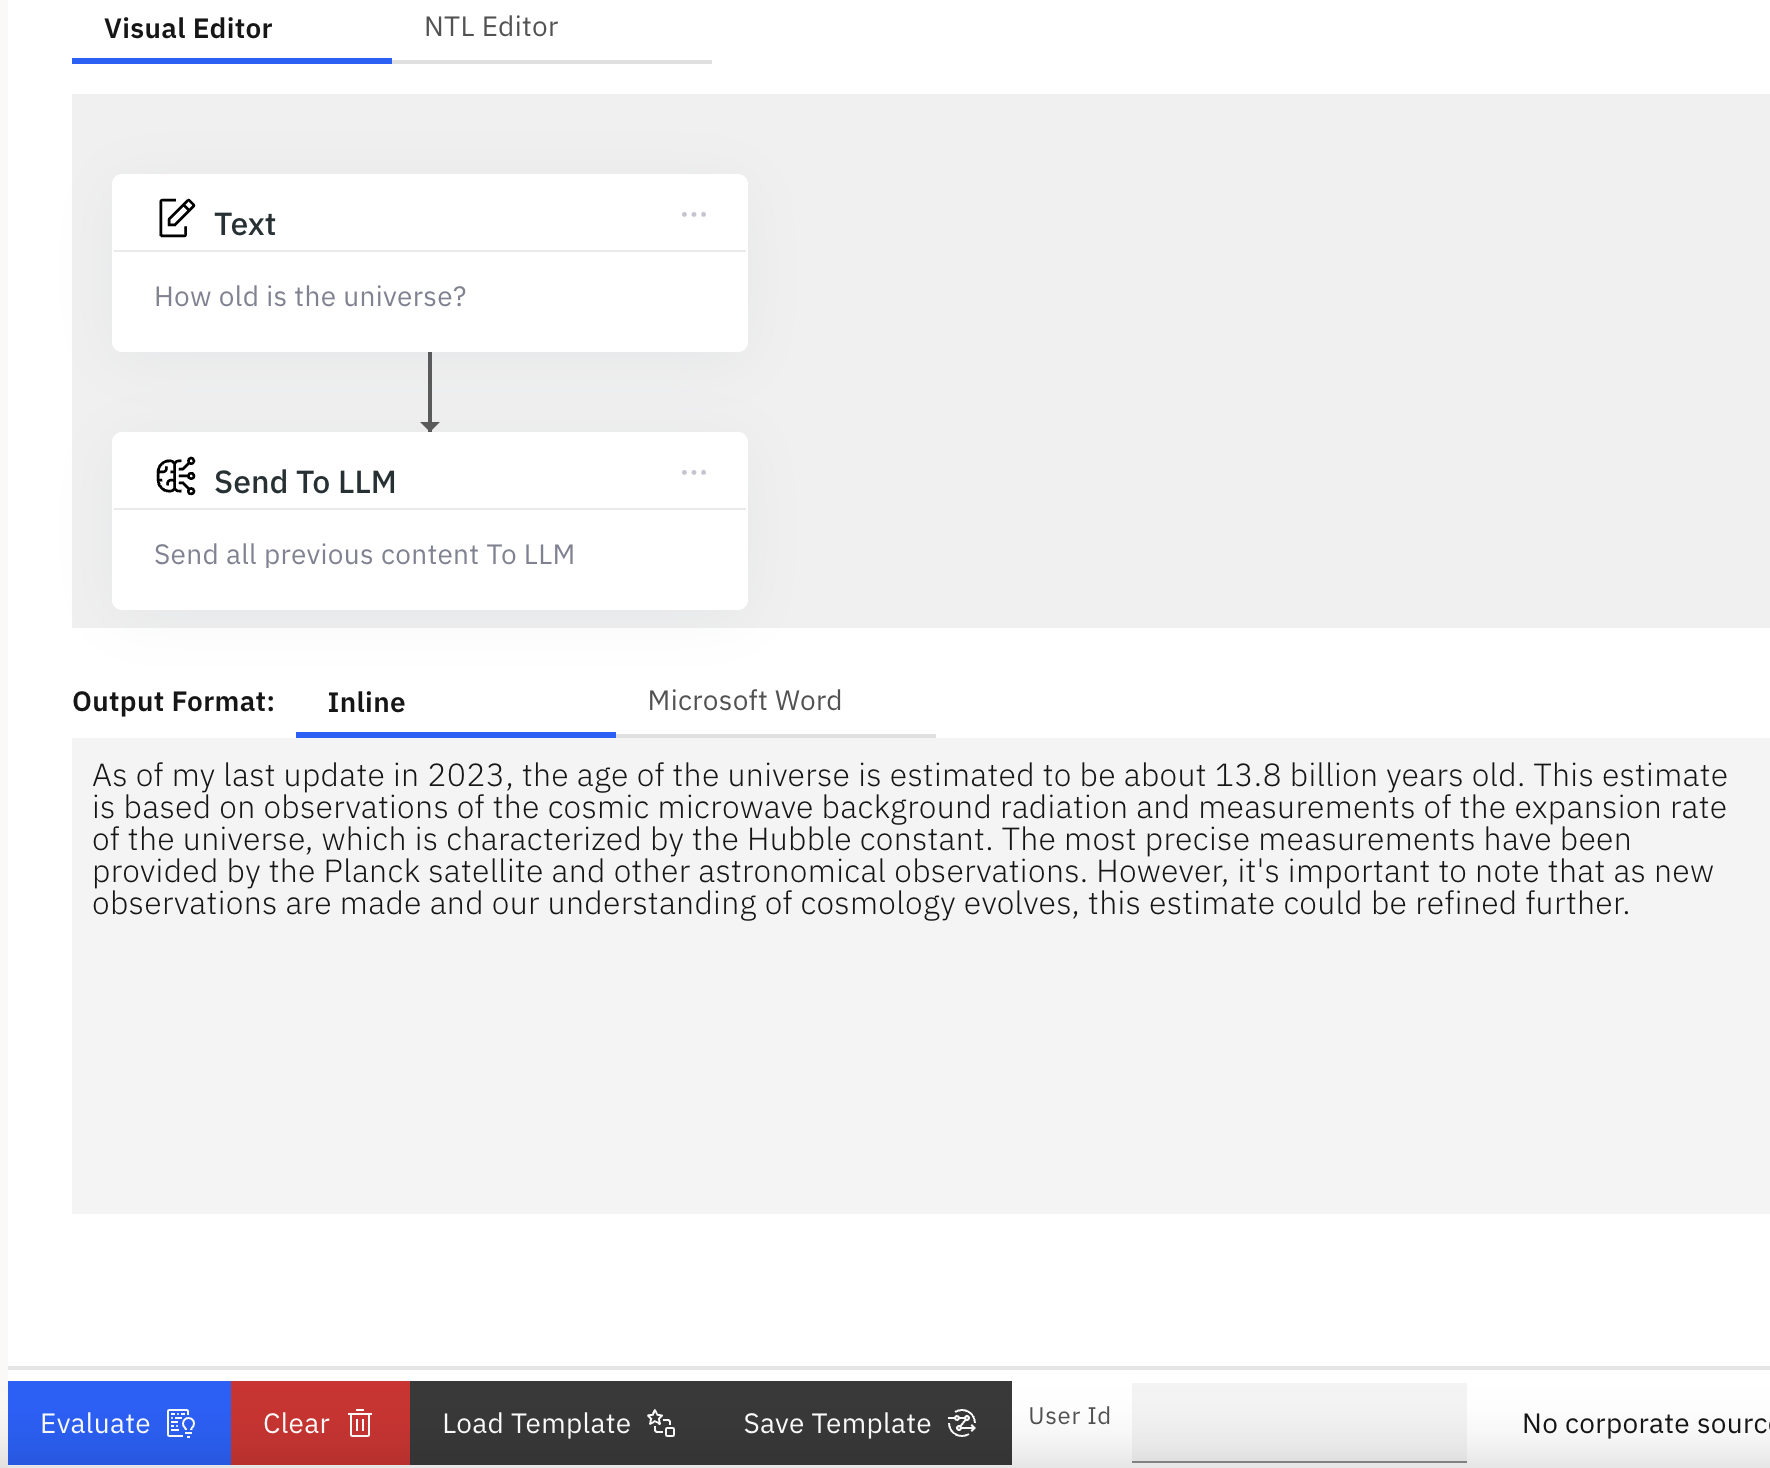
Introducing "mAIstro" - an open-ended playground for Large Language Models, designed to ease development time and effort.
mAIstro is a practical tool that provides you with the following capabilities:
- Choice of LLM: (BYOLLM Plans) Select your preferred LLM, and seamlessly integrate it with mAIstro.
- Utilize NeuralSeek Template Language (NTL): Craft dynamic prompts using a combination of regular words and NTL markup to retrieve content from different sources.
- User-Friendly Visual Editor: Create custom prompts with an easy-to-use point-and-click visual editor.
- Utilize Other NeuralSeek Features: Extract, Protect, or Seek a query through the mAIstro platform.
- Versatile Content Retrieval: Retrieve data from various sources, including KnowledgeBases, SQL Databases, websites, local files, or your own text.
- Content Enhancement: Improve your data with features like summarization, stopword removal, keyword extraction, and PII removal to ensure your content is refined and valuable.
- Guarded Prompts: mAIstro provides Prompt Injection Protection and Profanity Guardrails, preventing embarrassing moments with Language Generation.
- Table Understanding: Conduct searches and generate answers with natural language queries against structured data.
- Effortless Output: Easily view your generated content within the built-in editor or export it directly to a Word document, offering convenient control over your output.
- Precision Semantic Scoring: Importantly, all these operations are assessed using our Semantic Scoring model. This allows insight into the content's scope tailored to your preferences.
Visual Editor
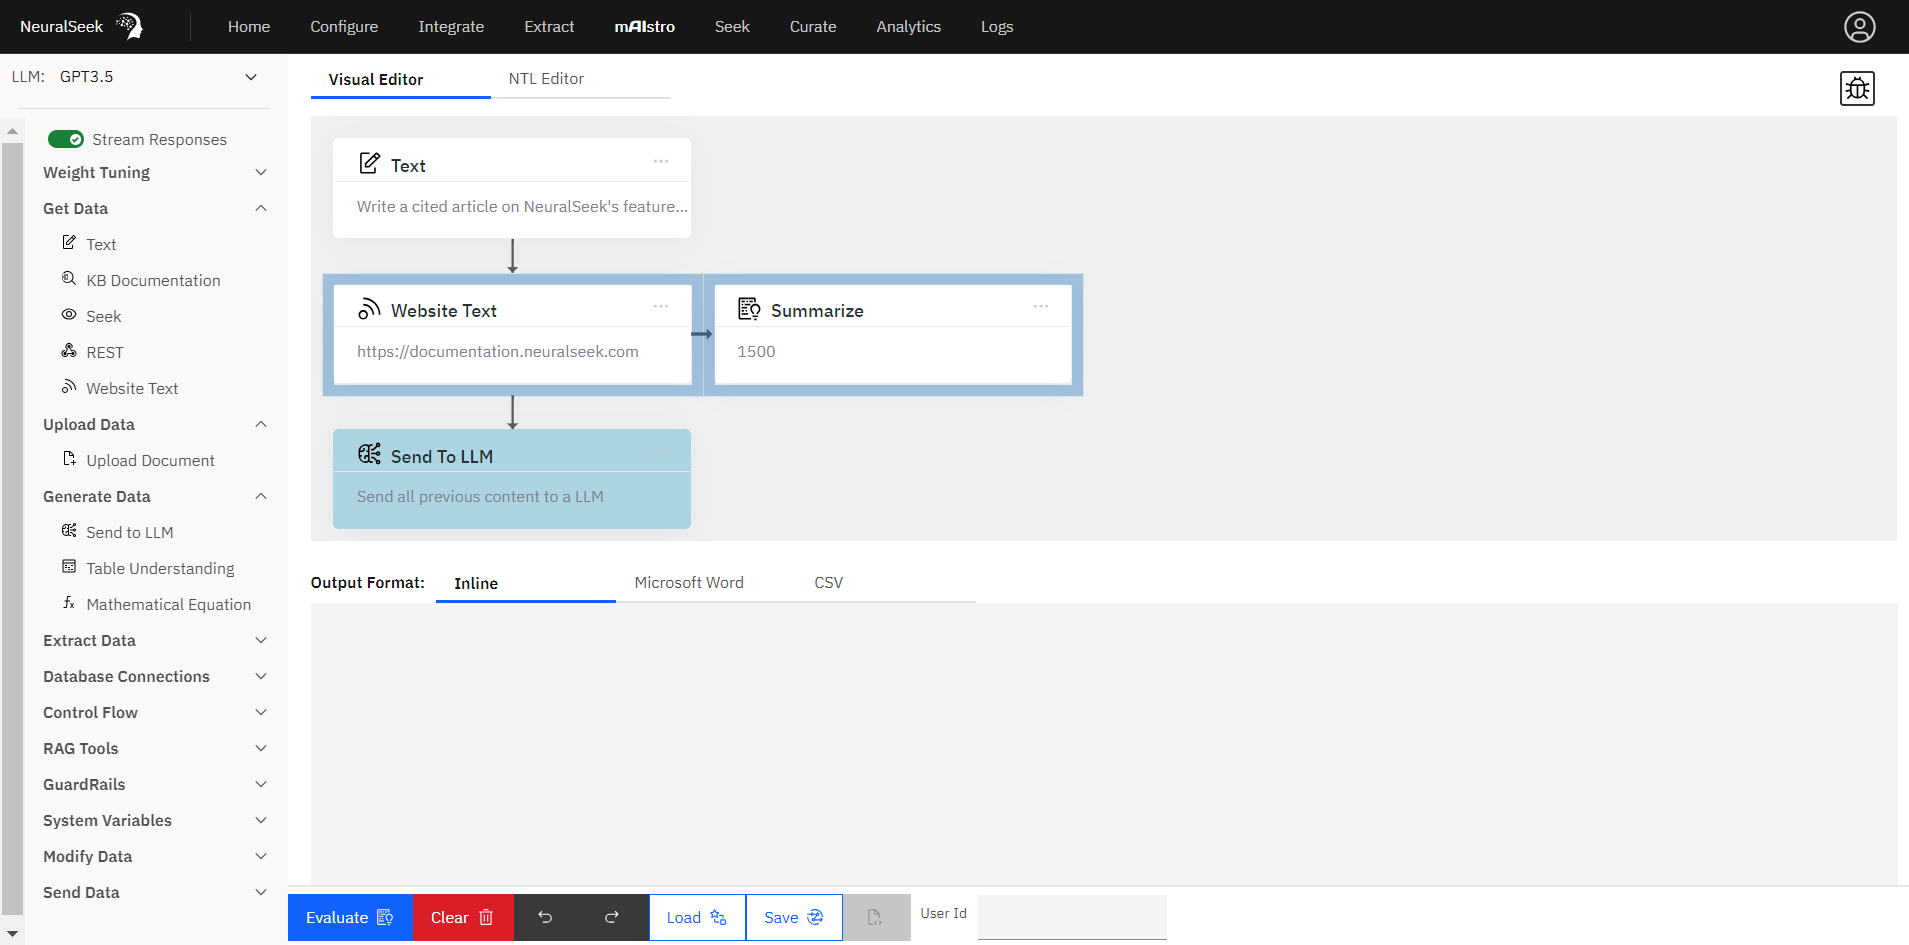
- The Visual Editor allows users to create expressions using movable, chain-linked, and customizable blocks that execute commands. It simplifies user interaction through drag-and-drop blocks, making it easy to navigate complex use cases with no code required.
NTL Editor
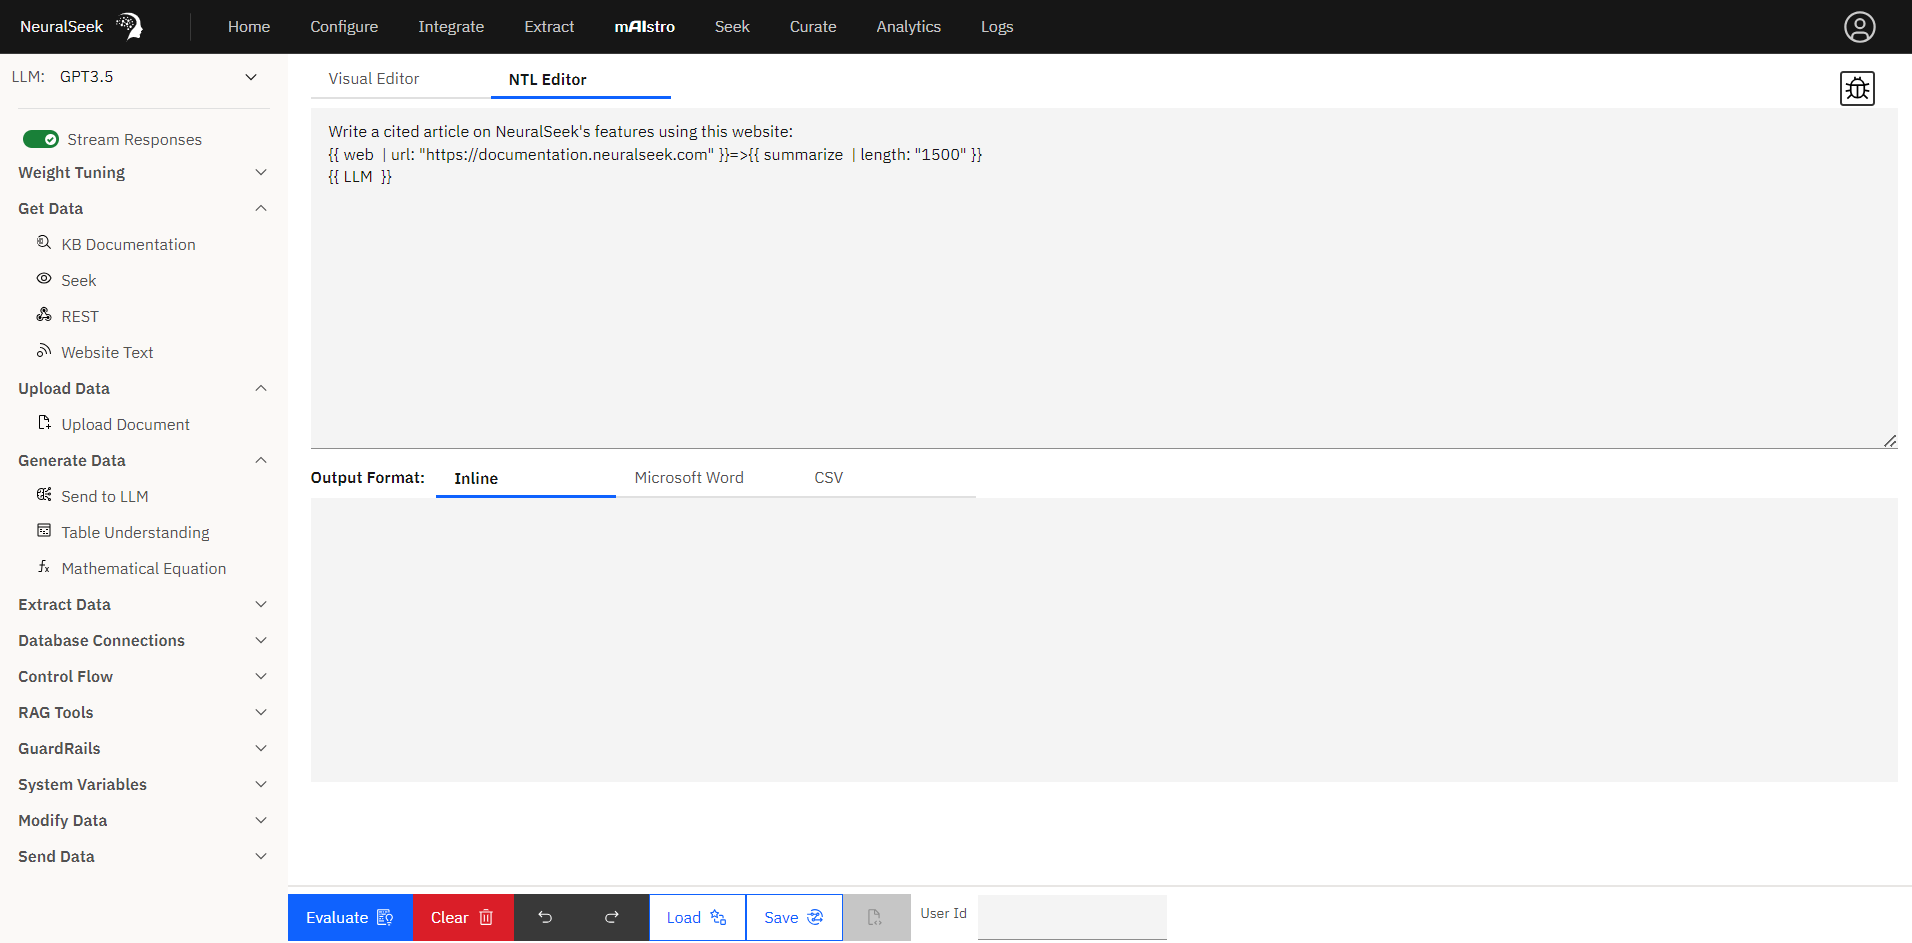
- The NTL Editor allows power users or developers to create expressions using NTL Markdown. This shows the raw NTL Markdown, allowing you to hand-edit or copy the whole template to share and debug.
mAIstro Inspector
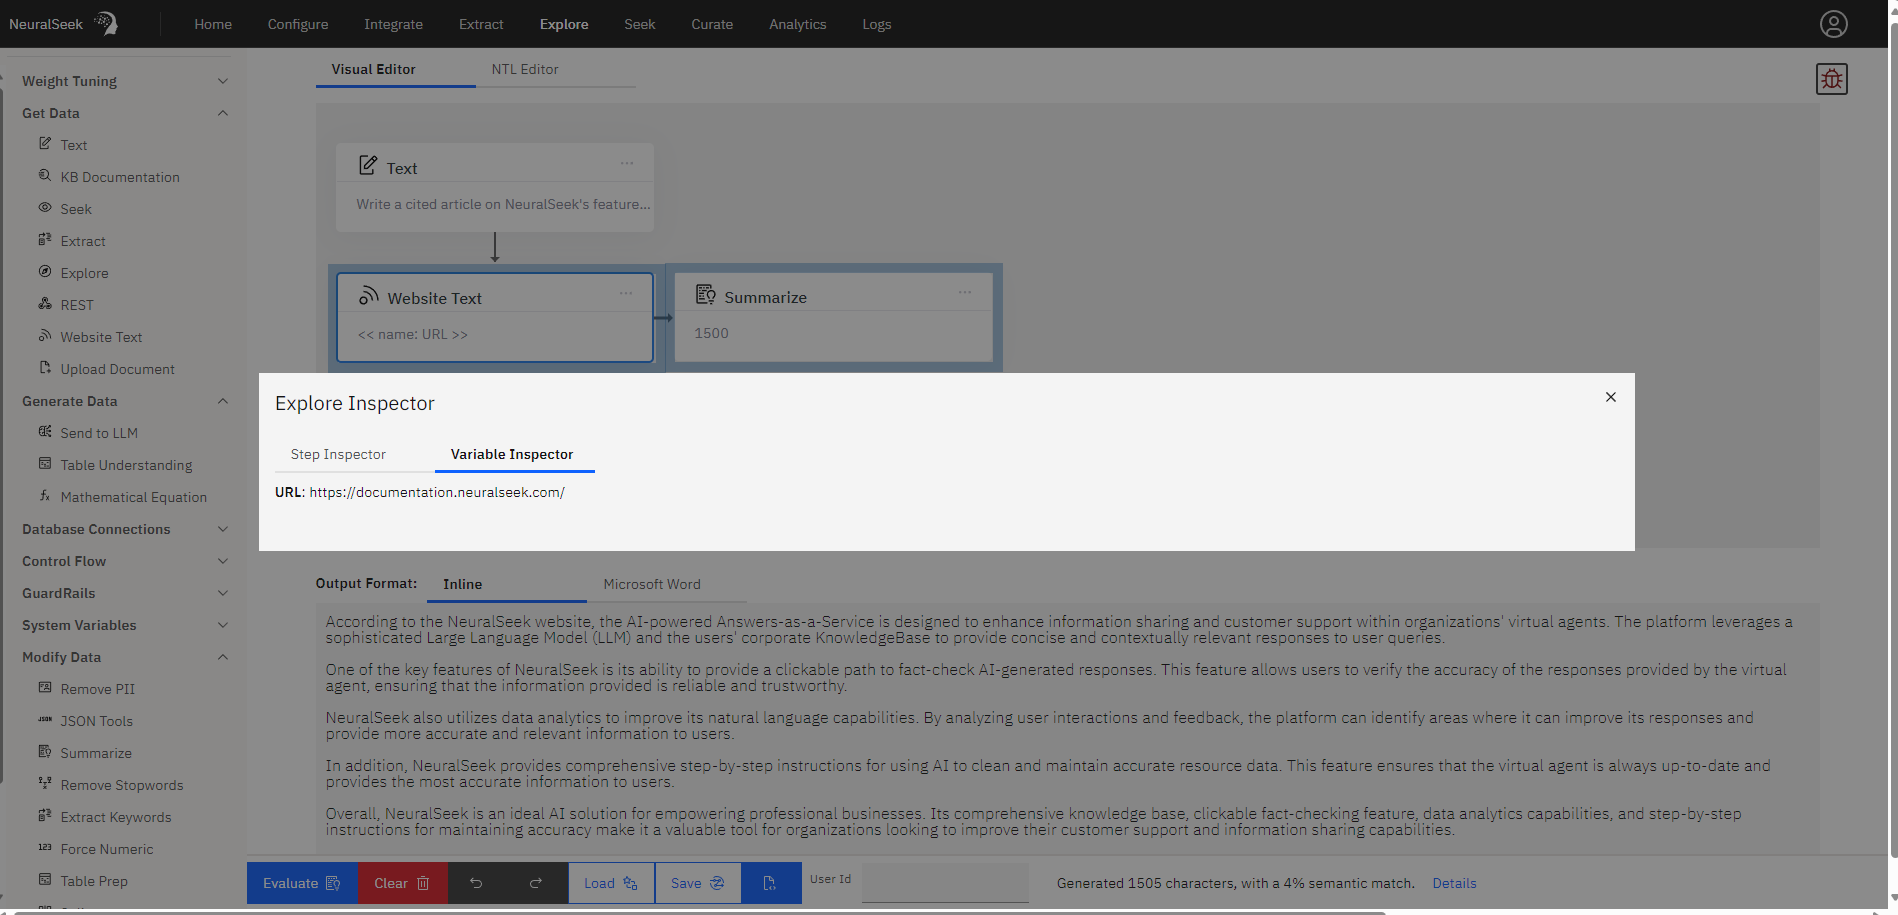
- The mAIstro Inspector (the small bug icon near the top-right) allows users to drill down to the details of each step, exposing what was set, when it was set, and how it was processed.
- Expand steps individually to drill down into specific values, calculations, assignments, or generation.
Quick start with auto-builder
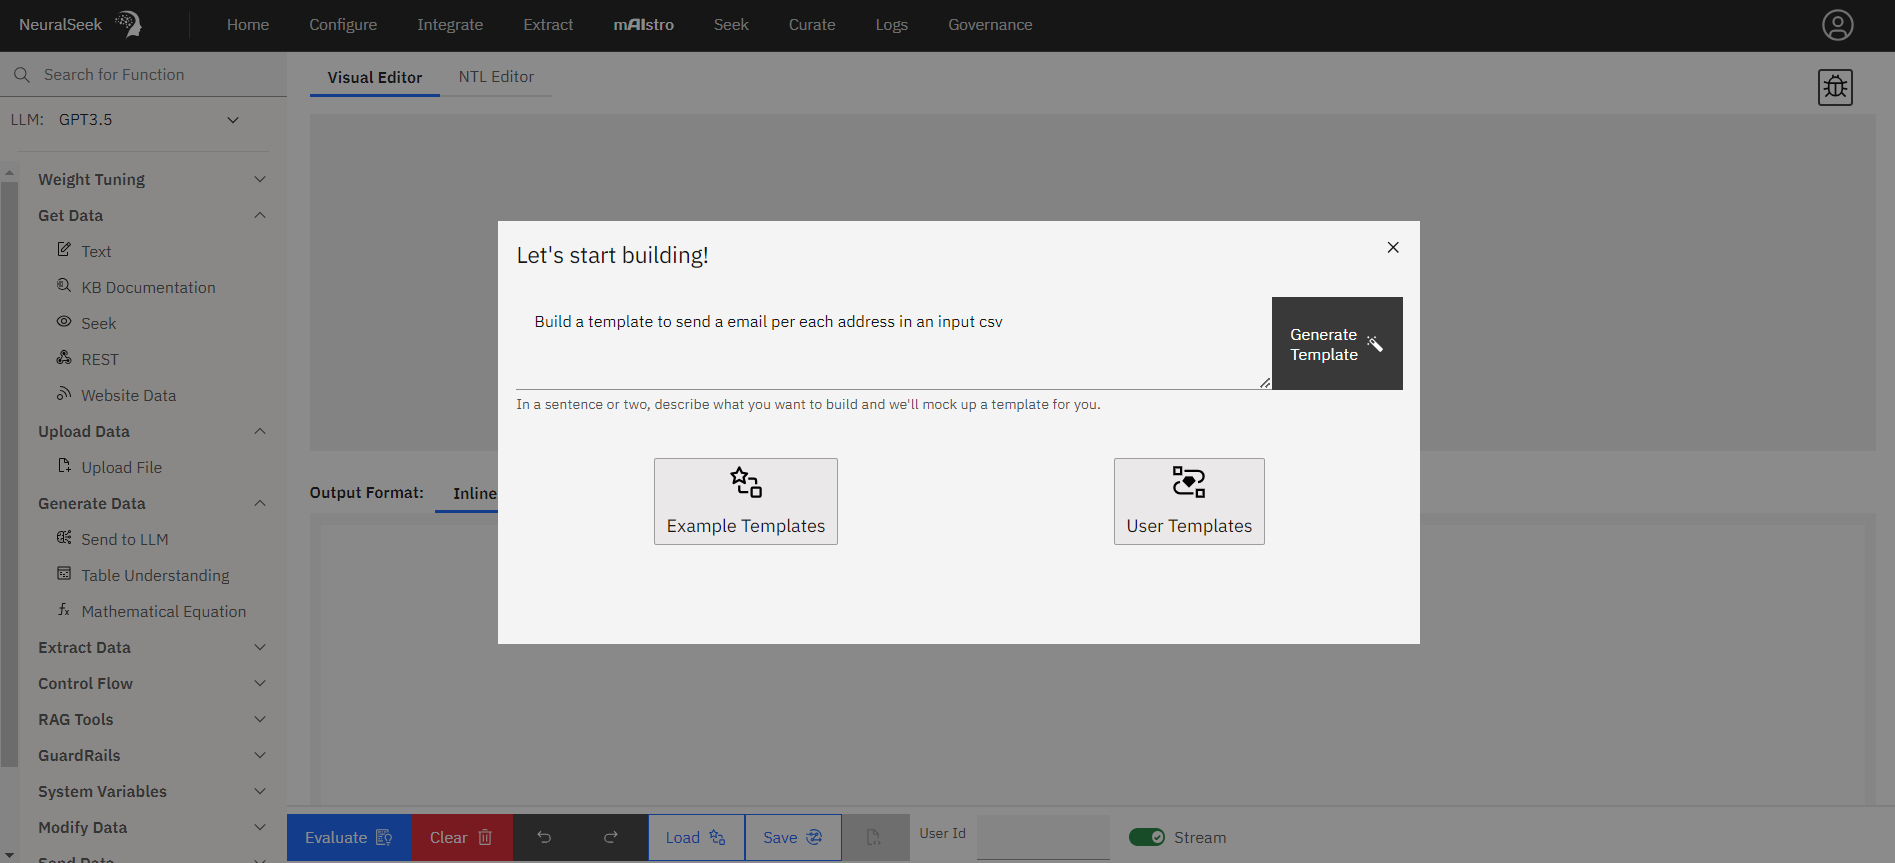
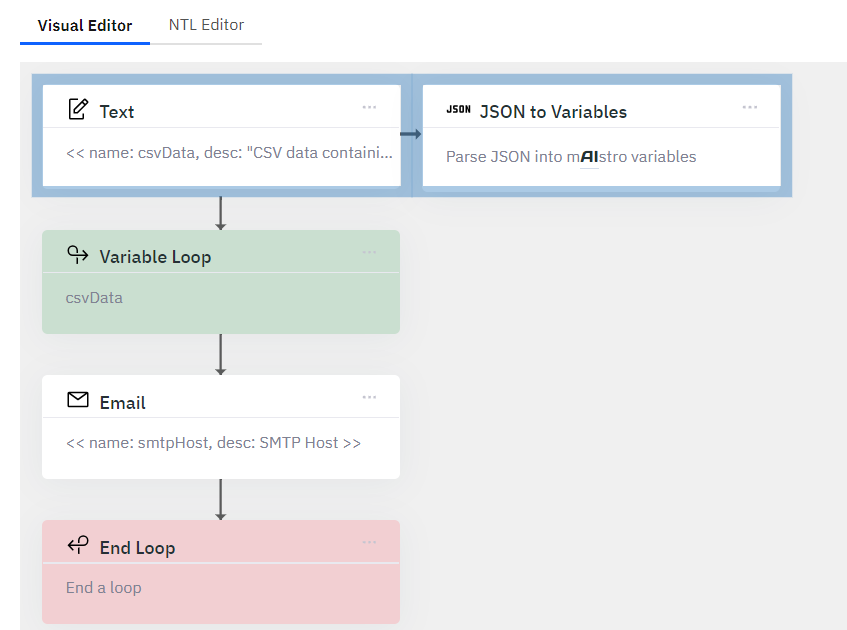
Get started by giving a prompt in the auto-builder. Use this example prompt: Build a template to send individualized emails to each address listed in an input CSV file. This gives you the ability to start from scratch, use an existing template or build one using natural language commands.
This will output a customizable template that you can test or adapt to your needs.
Understanding the Visual Editor
Click to insert
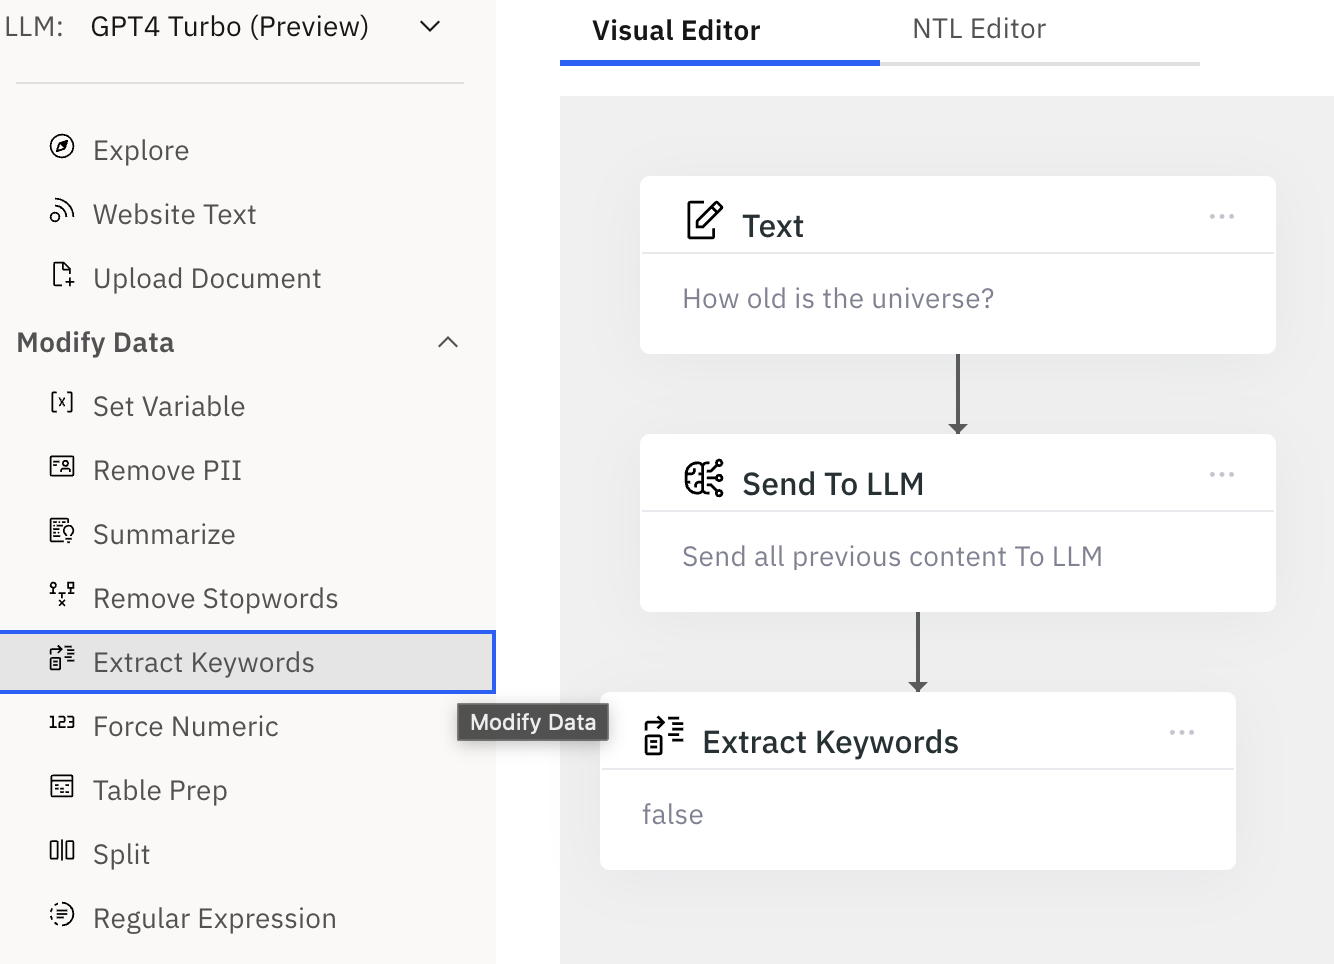
All the elements on the left panel can be created in the editor by clicking them.
Click to edit
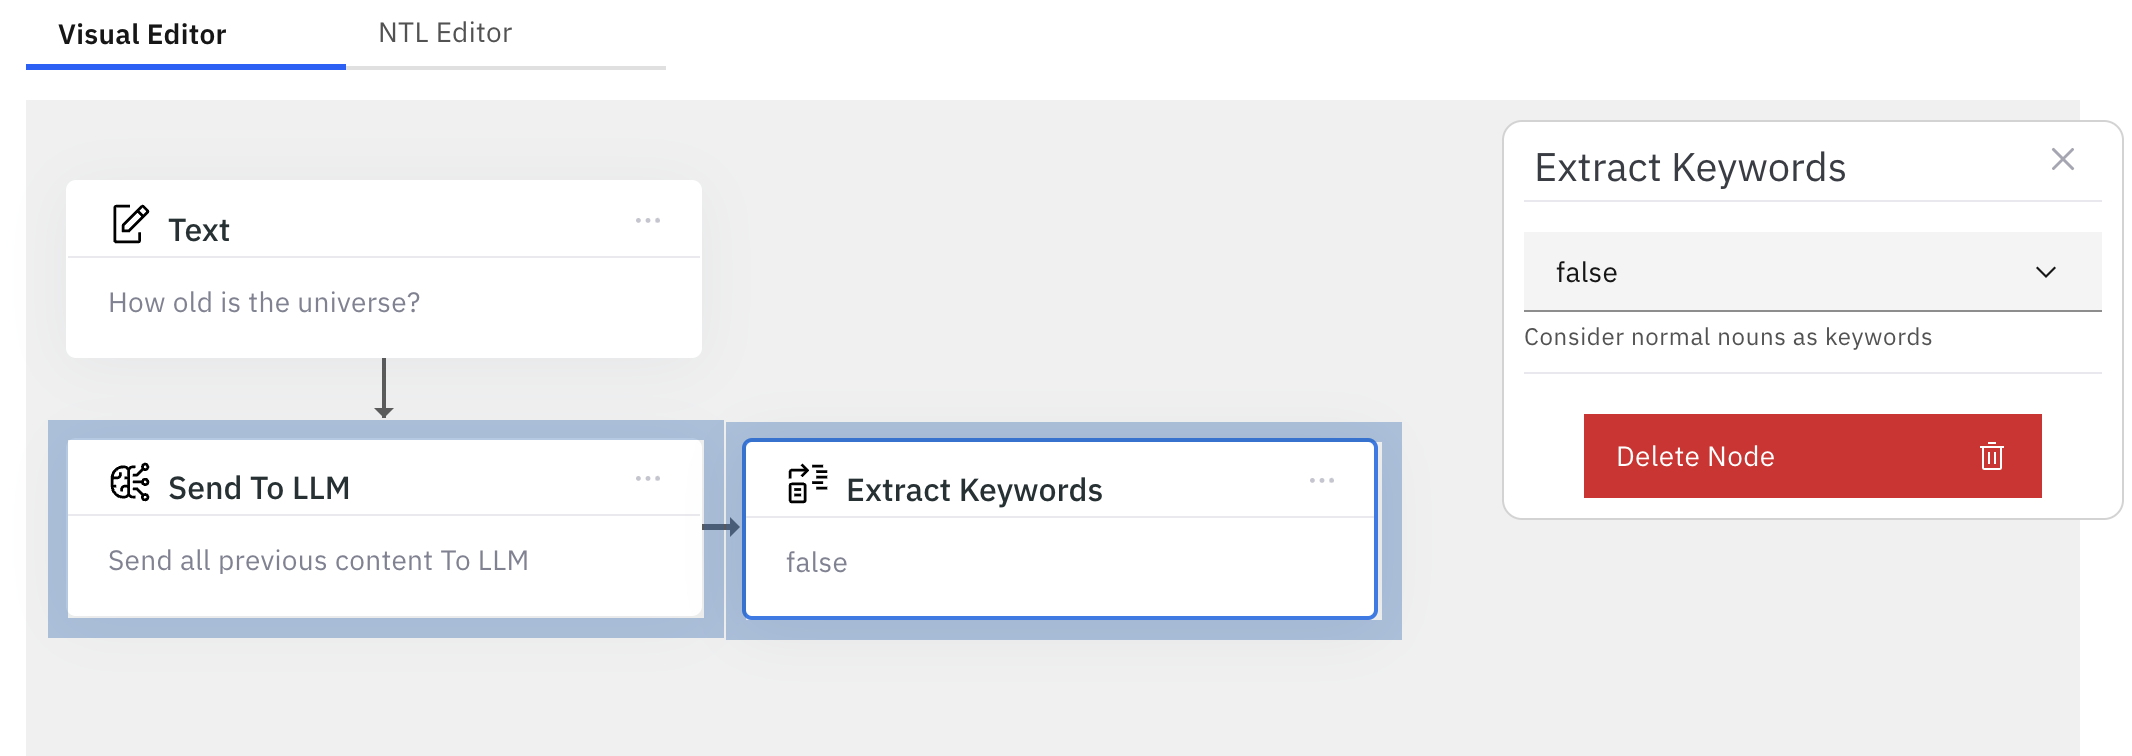
Selecting a card will highlight the node blue, and a dialog will appear on the right side to edit the configuration options for the selected node. Depending on the type of the node, there may be several options. See the NTL reference page for a description of all configurable options.
Deleting a node
You may delete a node by clicking the red Delete Node button at the bottom of the options panel.
Hover Menus
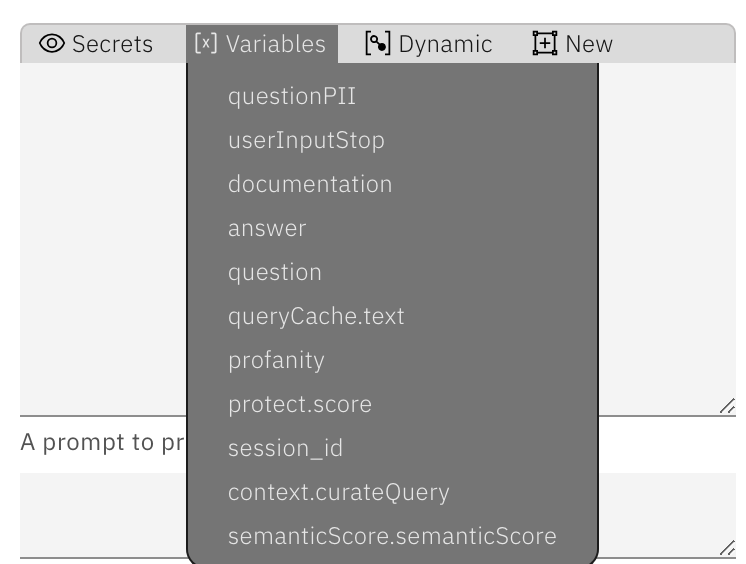
Hovering allows users to easily access and insert secrets, user-defined variables, system-defined variables, or generate new variables while working in the visual builder. This feature enhances the building process by providing quick access to essential elements without disrupting the workflow.
Stacking elements
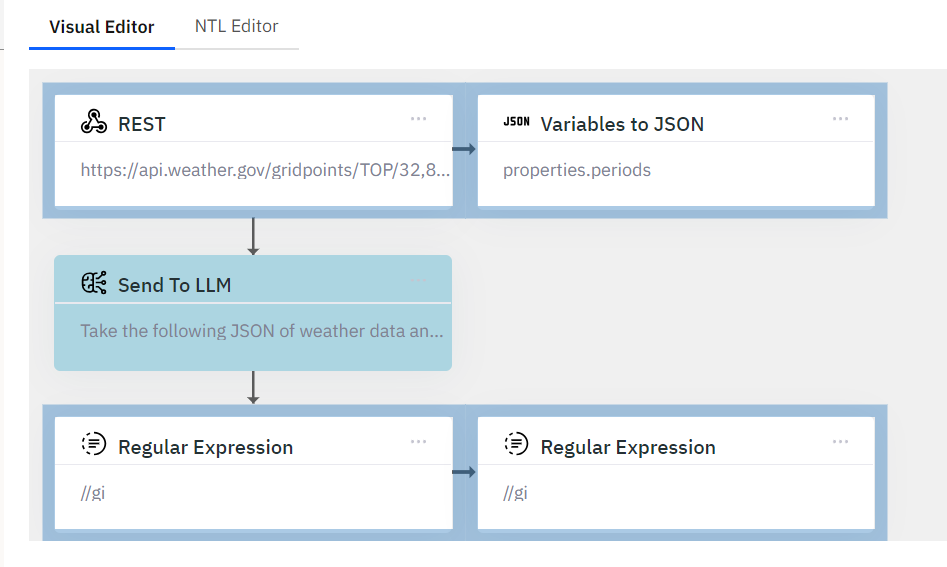
Adding nodes, by default, will connect the elements vertically. We call this Stacking, or building a Flow.
Stacked elements flow from top to bottom, meaning the output produced by the top element will become available as input to the bottom/next element.
Chaining elements
You can also connect elements horizontally. This is called Chaining.
Chaining is useful when you want to direct a node's output. In this example, the output of the LLM will be provided as input to the extract keywords element - chained together.
Example:
- Click the element
Extract Keywordsto get stacked underSend To LLM. - Select the node, and drag it the right side of the element that you want to chain. You will see a blue dot indicating the chained connection.
-
Release the selection, chaining the nodes together.
Evaluating
Clicking the evaluate button will run the expression, and generate output.
Saving as user template
You may frequently use the same expression over and over again. We offer the ability to save the template for re-use, and also be triggered via an API call.
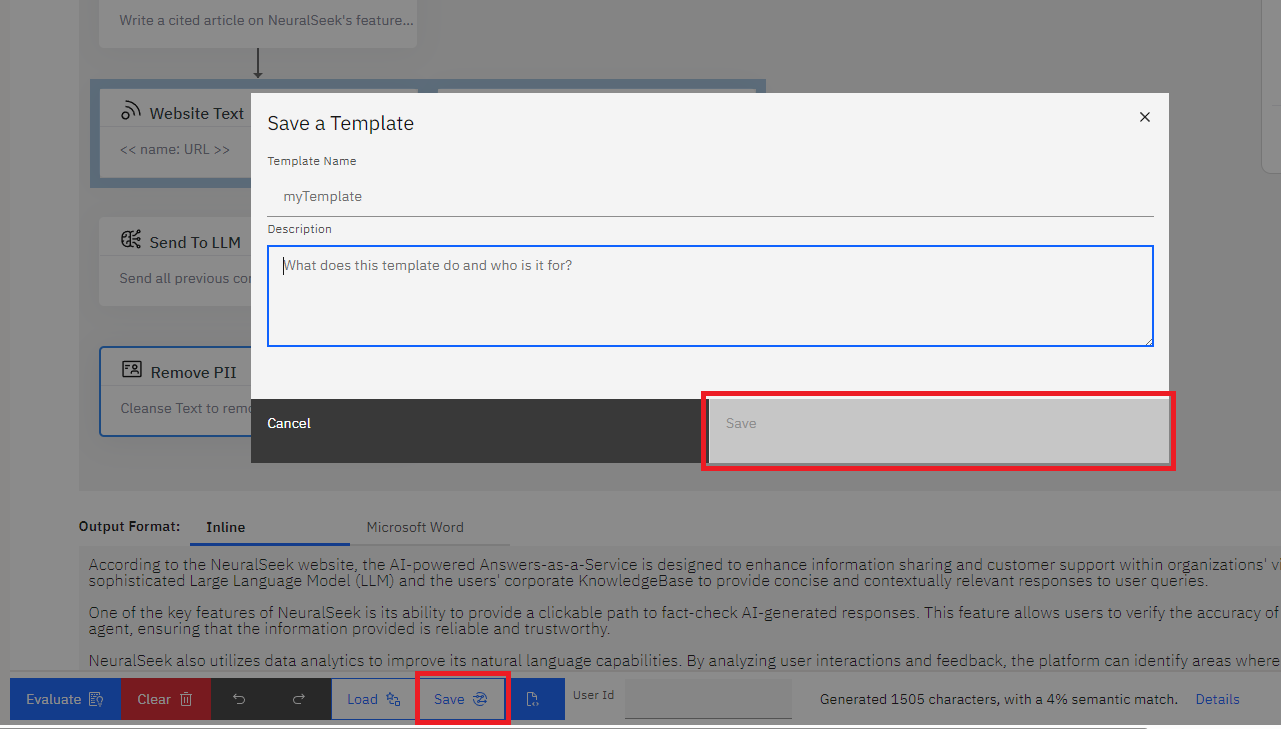
Build an expression, and then click the Save button along the bottom of the editor. Enter the template name and (optional) description. Click Save in the dialog to save it as a user template.
Loading the template
Your saved template can be loaded into the editor, or called upon later from the API.
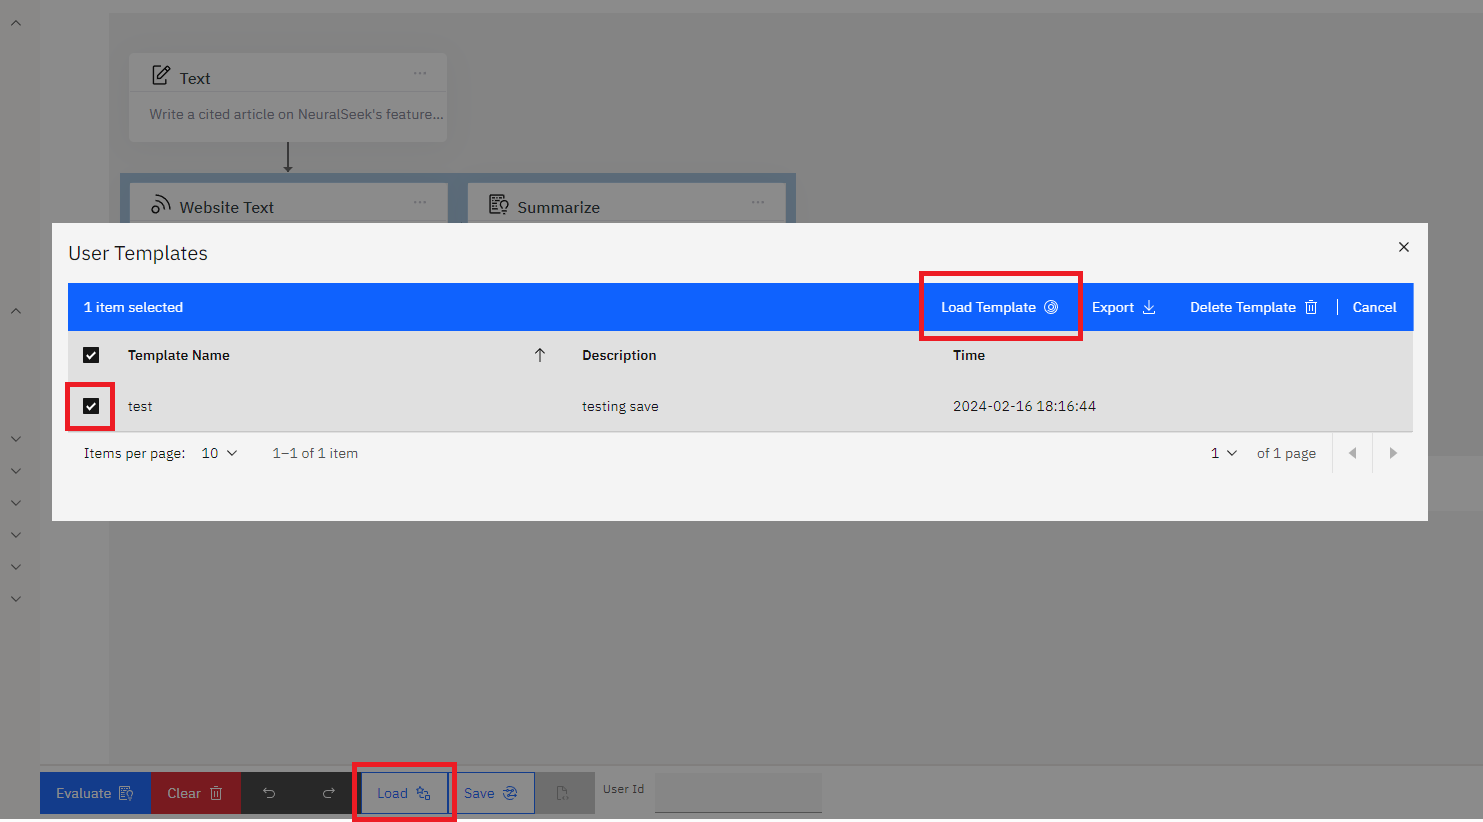
Click the Load button along the bottom of the editor, select User Templates, and click the checkbox to the template that you want to load. Click Load Template to load the saved template into the editor.
Output Formats
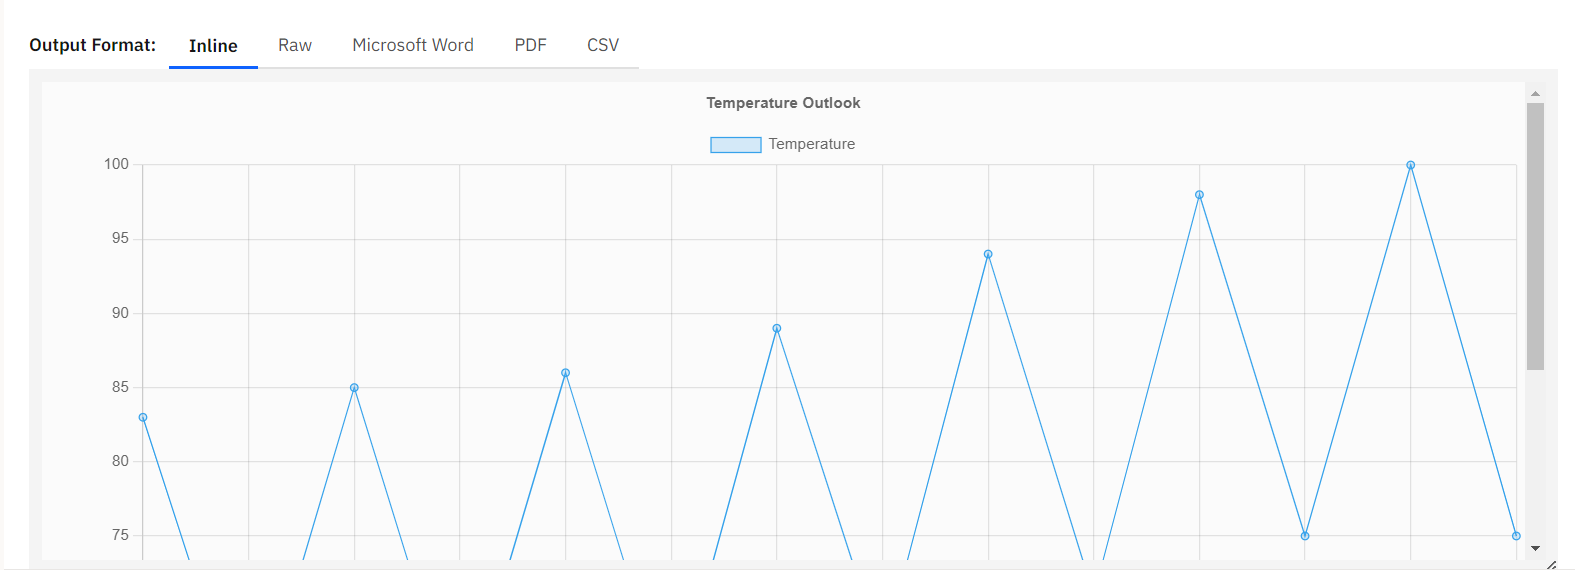
- Inline - Suitable for displaying rendered output from the flow, supporting charts and HTML.
Example: Display a chart using data retrieved from an API endpoint, rendered with Chart.js.
Preview the HTML generated by the LLM node.
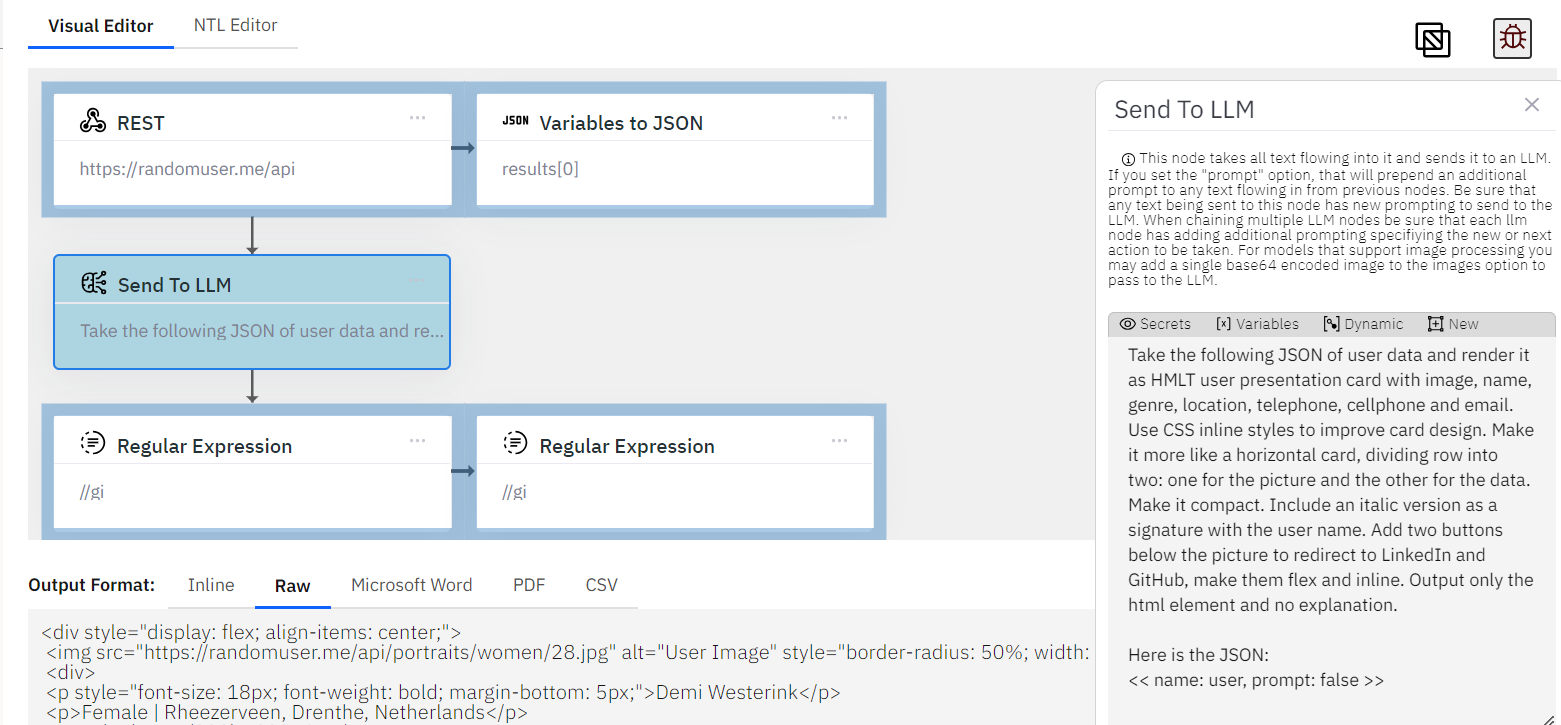
- Raw - Useful for viewing the unprocessed text output from the flow.
Example: Validate raw HTML generated from a HTTP request to a user endpoint, creating a presentation HTML user card.
View the underlying HTML behind the inline format to ensure expected output.
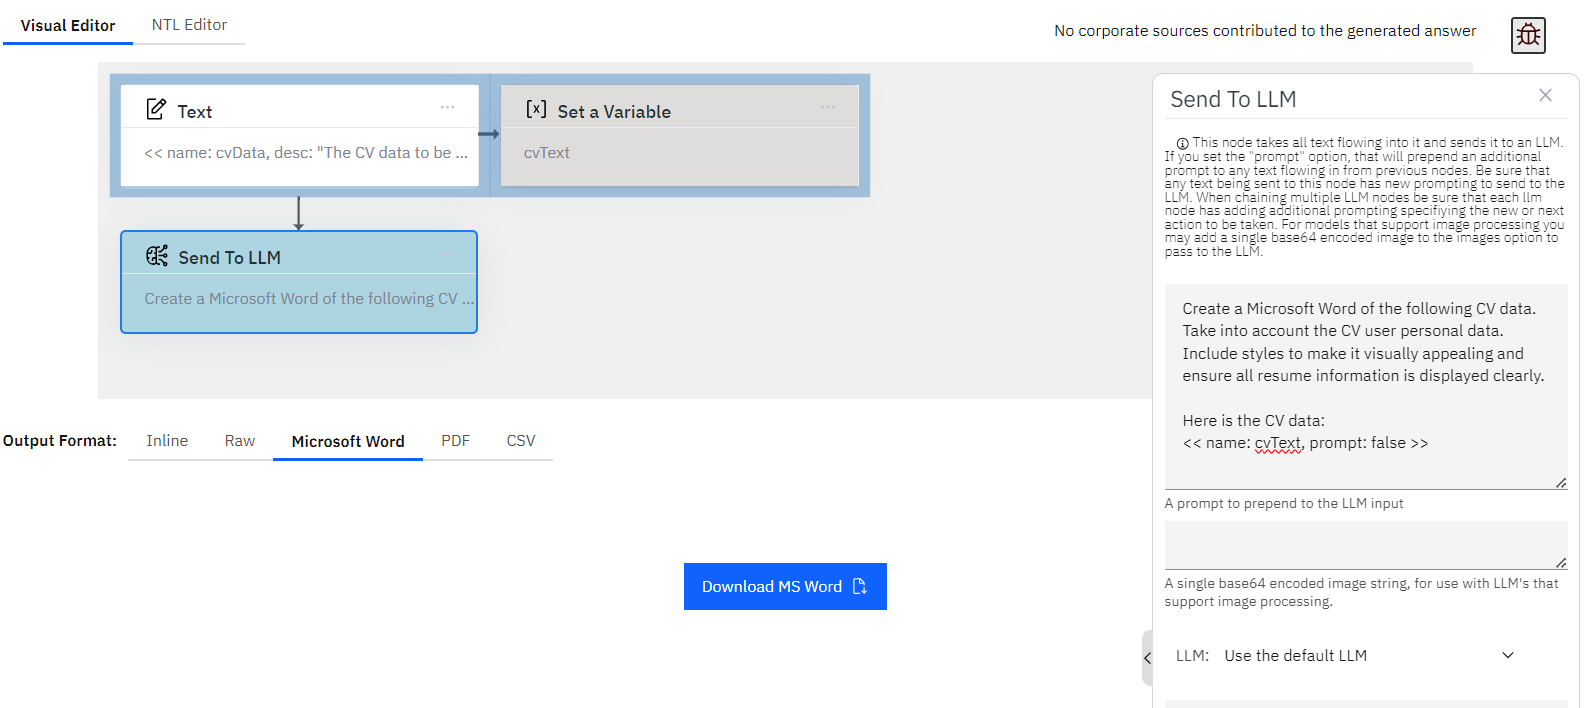
- Word - Quickly download the raw output as a Word document for easy sharing or storage.
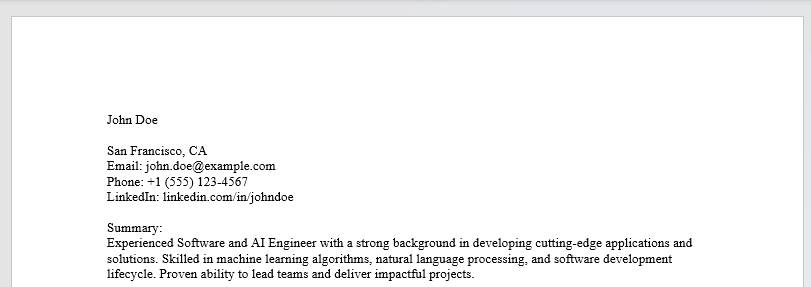
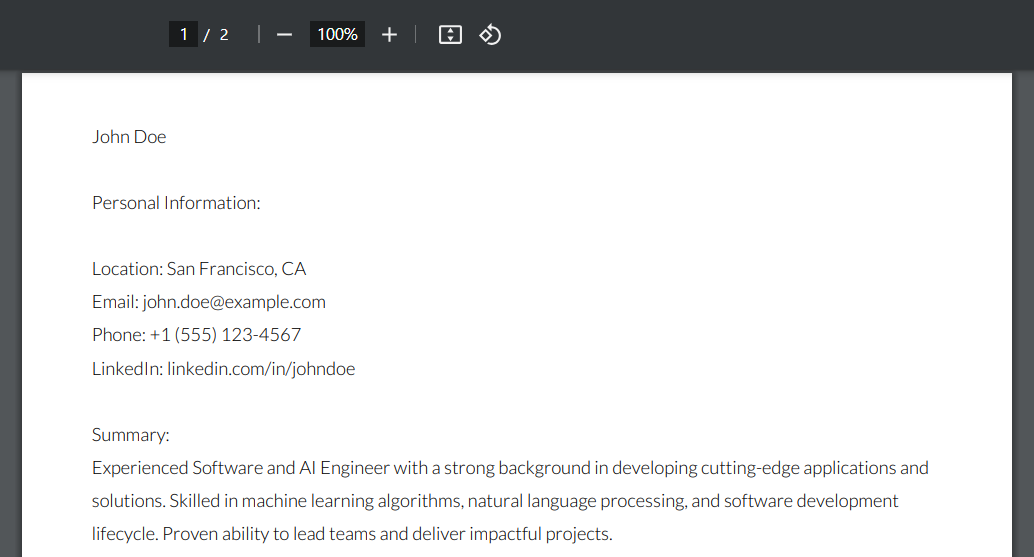
Example: Generate Word documents from CV data.
The resulting document will appear similar to this:
- PDF (text) - Generate a text document in PDF format from the raw output.
Example: Export the document in PDF format.
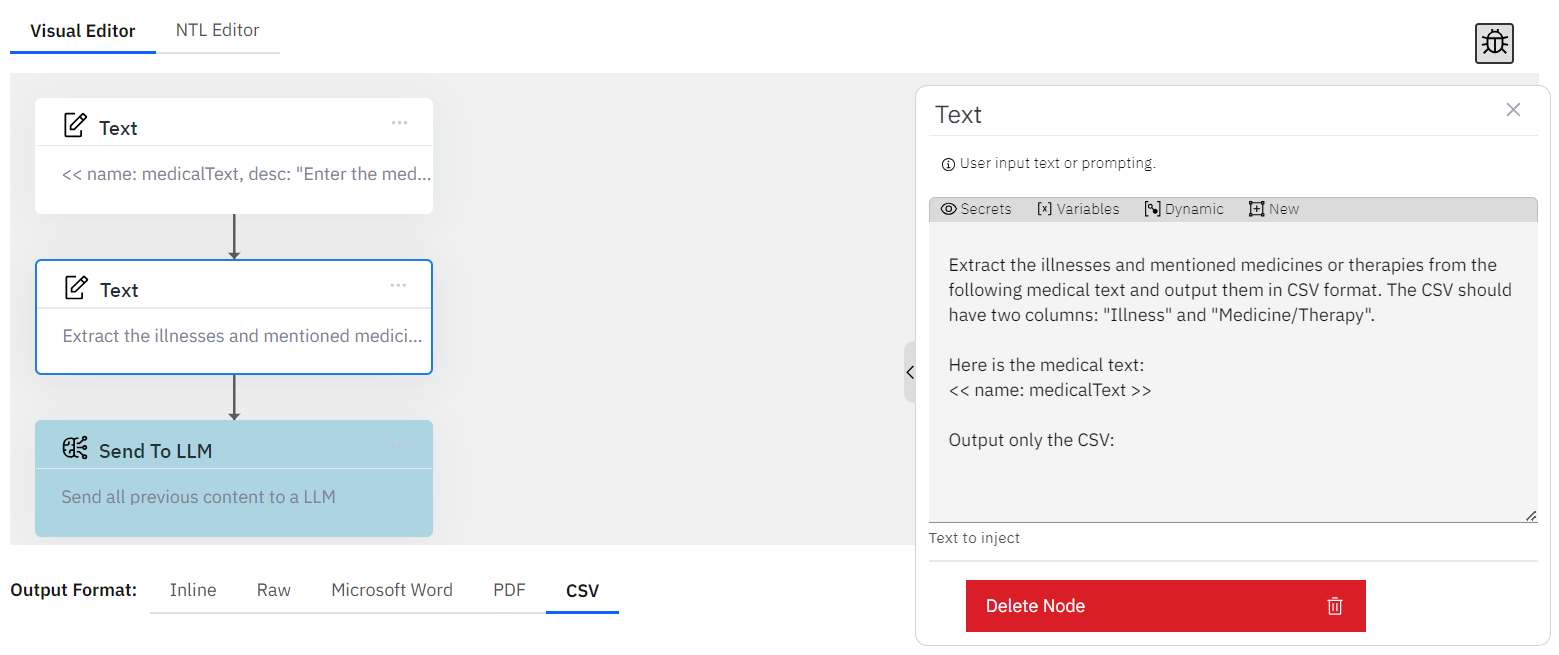
- CSV - Create CSV files with extracted data from various sources.
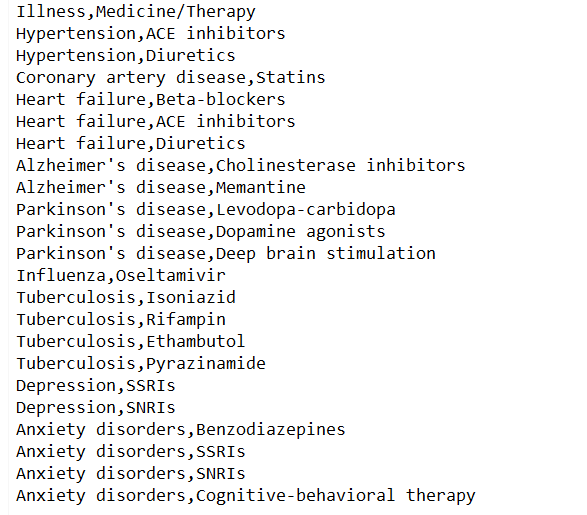
Example: Extract and preview CSV data, such as medical texts with illnesses and corresponding medications or therapies.
The resulting CSV will look similar to this:
